After Market Products – For the most part, this will be an out of the box build. However, I decided to use a few after market products. The first after market product needed is a nice set of resin replacement tires. Tamiya chose to make the kit tires from some form of very durable rubber. Neat idea, but there is rubber flash from the mold seam that runs down the center of the tires. Reading some on-line builds, modelers have expressed frustration with not being able to eliminate the mold seam flash. O.K., so I thought to myself, how hard can this be? So, I broke out a few sanding sticks. Medium sanding stick; no effect. Coarse sanding stick; again, no effect. I turned to my X-acto knife thinking I could either scrap or cut off the mold seam flash. No success in that attempt. Put in a new blade thinking that the blade might be dull. Not any better. In my frustration, my thoughts turned from removing the flash to destroying the tires. Good thing my thoughts did not stay there long.
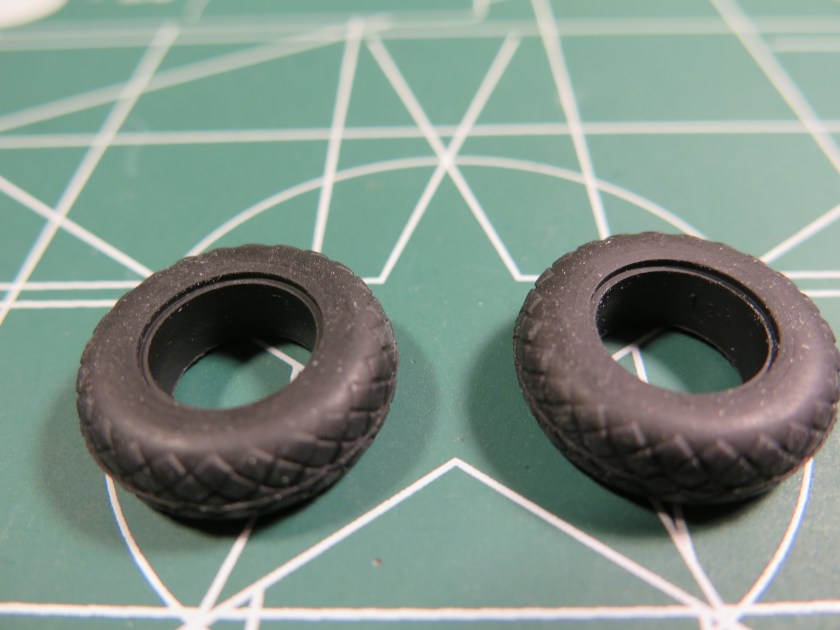
I am not sure what the chemical composition of the rubber that Tamiya used is, but I can say with absolute certainty that long after you and I are gone from this earth, these tires will still be here without a hint of degradation. In addition, the rubber tires appear to be dust magnets, and they hold on to the dust like there is no tomorrow. My attempts to remove the dust with a brush just moved the dust around on the tires. If you have this kit in your stash and have not built one yet, take my advice and buy a quality set of resin replacement tires. I purchased a set from Barracuda Studios. They are beautifully cast and designed specifically as replacement parts for the Tamiya kit.
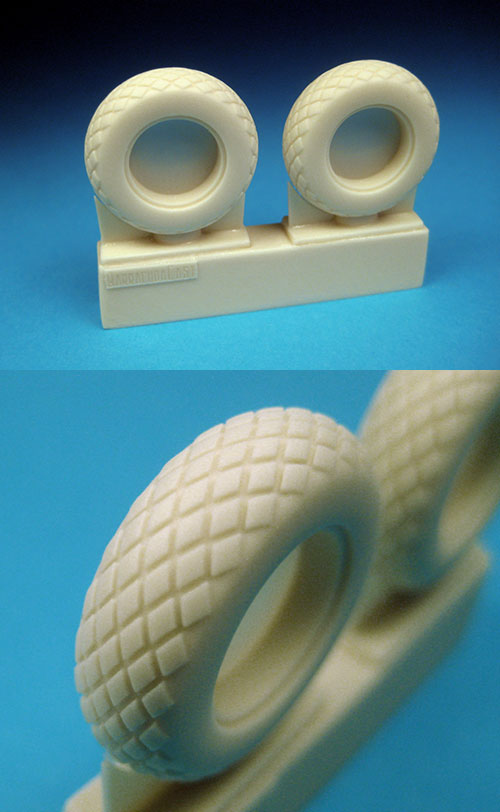
After removing the tires from the casting block and washing them in a mild detergent, I primed the tires with Alclad II Grey Primer & Microfiller (ALC 302). This is my primer of choice because it is lacquer based, extremely durable, and provides a good base for color coats to adhere to, especially acrylics. For the tire color, I used Vallejo Model Air Tyre Black (71.315). I really like Vallejo Model Air paints. They spray down beautifully, and I have not had any adhesion problems. I would not recommend spraying them on bare plastic because a primer is necessary to obtain good adhesion. I clear coated the tires with Alclad II Aqua Gloss Clear (ALC 600) because I will be using an enamel wash when it comes time to weather the wheels. The kit rims were primed with Alclad II Grey Primer & Microfiller and then sprayed with Alclad II Aluminum (ALC 101). The red tire slippage tape decals are from the fundekals 🙂 P-51D Mustang Factory Stencil decal sheet.


The other aftermarket products used in this build are BarracudaCals P-51D Cockpit Stencils and Placards to spruce up the cockpit, and as indicated above, fundekals 🙂 P-51D Factory Stencil decals for the exterior of the model.

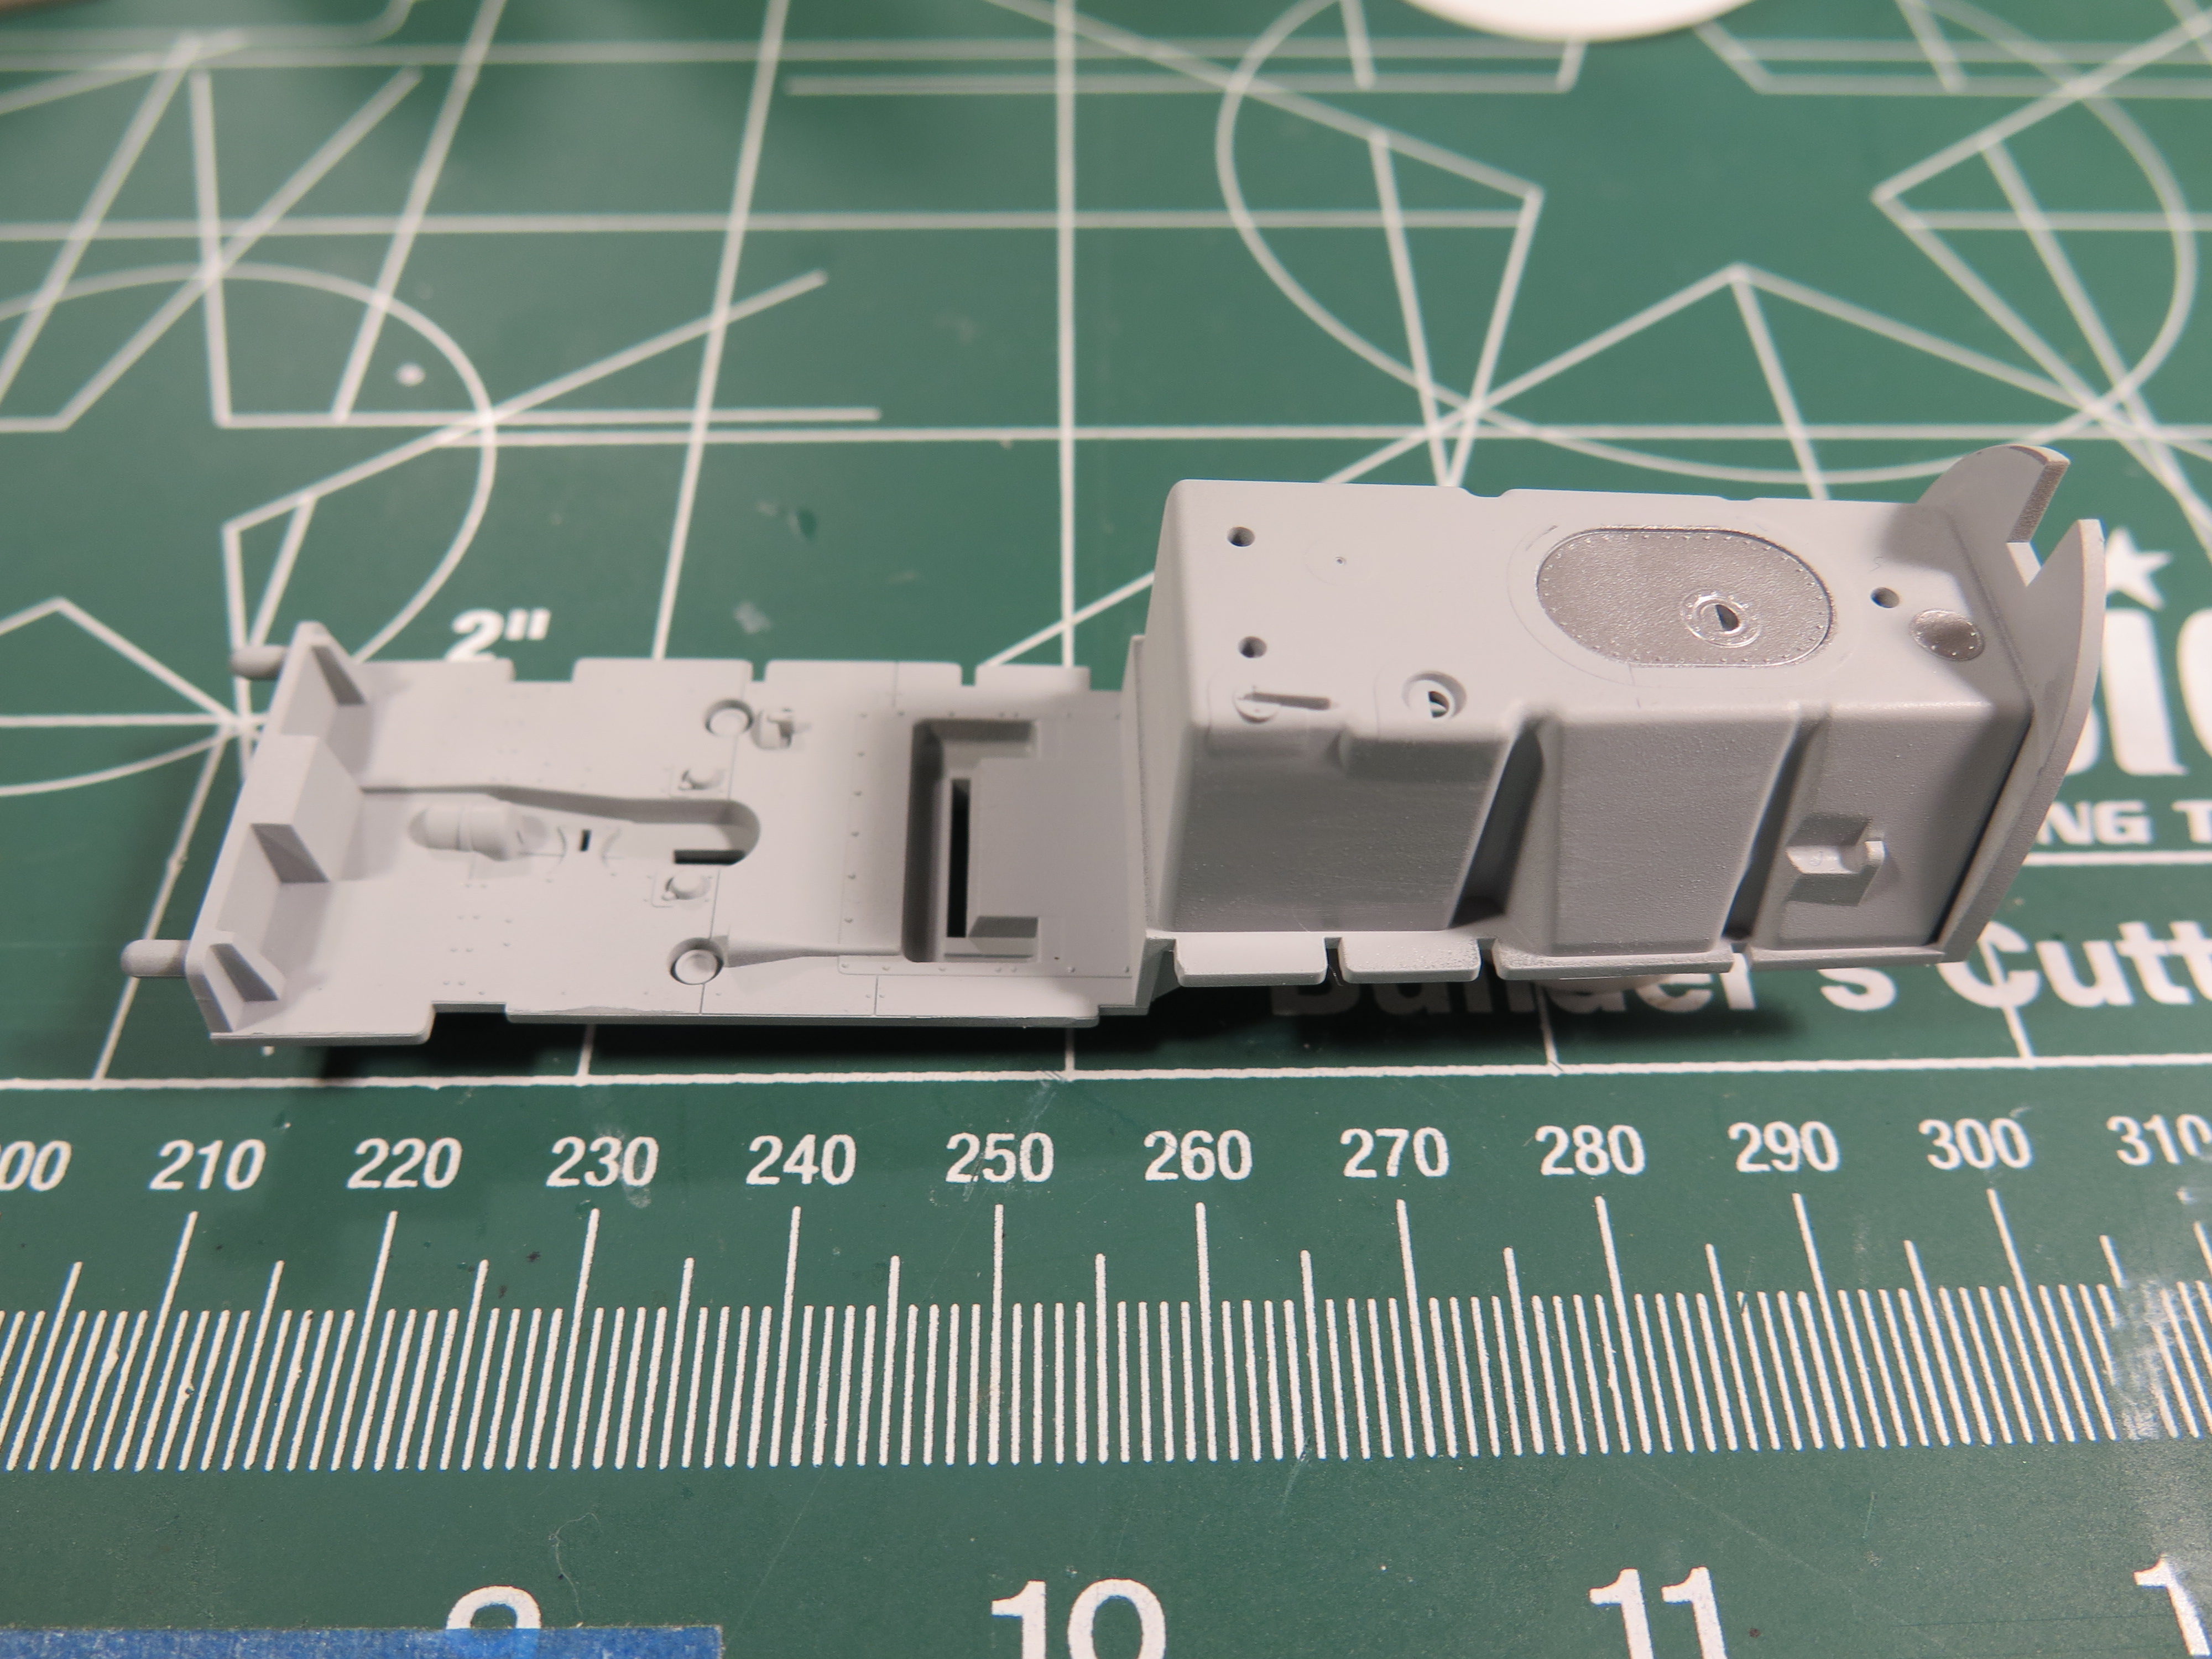
Instrument Panel – Tamiya’s instrument panel comes in several pieces which includes a clear back piece with raised instrument dials, a decal of the dial faces, and an instrument panel front. The decal is placed on the back of the clear piece, and the then the clear piece is joined with the front of the instrument panel. I painted the instrument panel front with Vallejo Model Air Black (71.057) lightened slightly with Vallejo Model Air White (71.001) (6 to 1 ratio). I don’t like using straight black as I think straight black is very stark. After painting the various switches and bezels, I clear coated instrument panel front with Alclad II Aqua Gloss Clear (ALC 600) to provide a base for the instrument panel stencils and placard decals. These decals are very small and were a test of my patience, but the result looks very good. After to decals were set, I sealed them with Alclad II Klear Kote Matte (ALC 313). After the clear coat dried, I attached the front and back pieces.

The completed instrument panel looks very nice with the stencil and placard decals. A few observations. First, the instrument bezels on the kit instrument panel are so close together in places that the vertical yellow dividing line decal did not lay down very good, and this is after I tried my best to trim the excess decal film away, and used decal solvent solution to get the decal to settle down. Second, the rear clear piece is just too thick to get a good representation of the instrument dial faces. Again, neat idea that just does not work very good. The next Tamiya 1/32 P-51D Mustang that I build, I will replace the kit instrument panel with either Eduard’s pre-painted photo-etch or Look instrument panels.
Next Installment of the Build – Cockpit floor and fuselage fuel tank, and beginning assembly of the kit’s Packard built Rolls Royce Merlin engine, which is a kit in and of itself.