
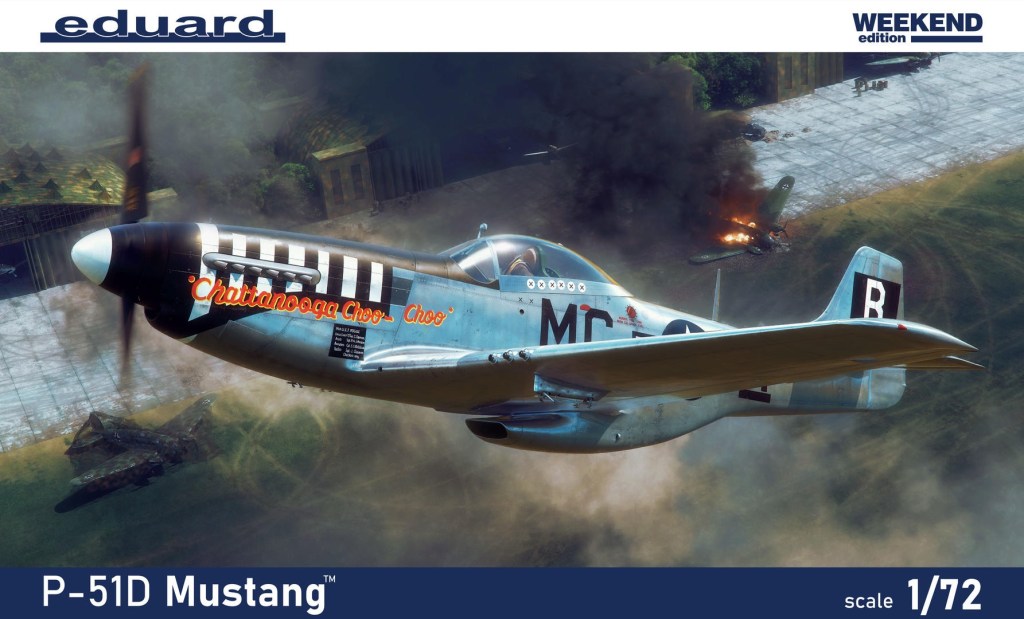
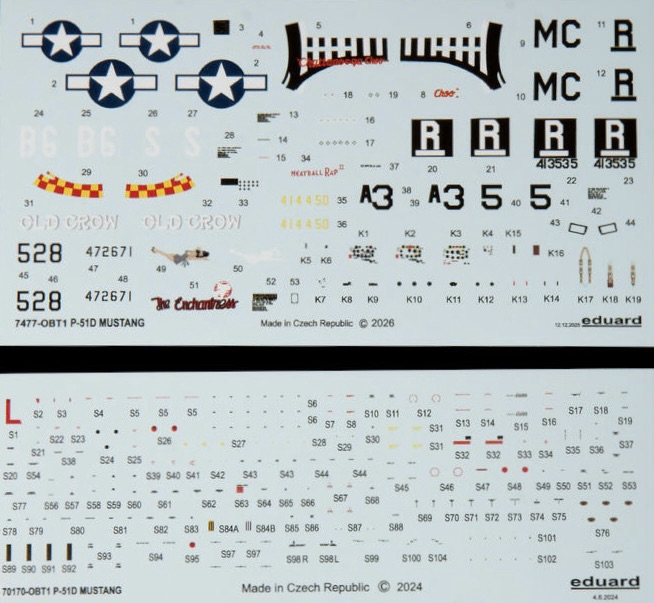
Eduard recently released the 2nd Weekend Edition boxing of its popular 1/72nd North American P-51D Mustang kit. The first three decal options are for Lt. Edward F. Pogue’s P-51D-5 “Chattanooga Choo-Choo” (79th FS, 20th FG, 8th AF); Capt. Clarence E. Anderson’s P-51D-10 “Old Crow” (363rd FS, 357th FG, 8th AF); Flt. Off. Charles A. Lane’s “Meatball Rap II” (99th FS, 332nd FG, 15th AF). All very interesting and popular subjects for modelers.
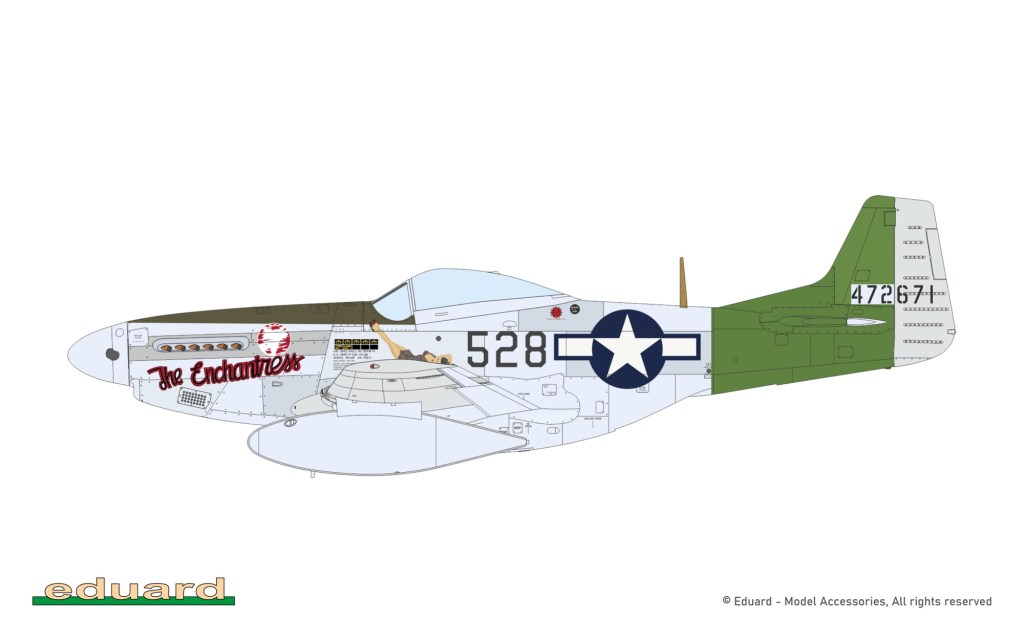
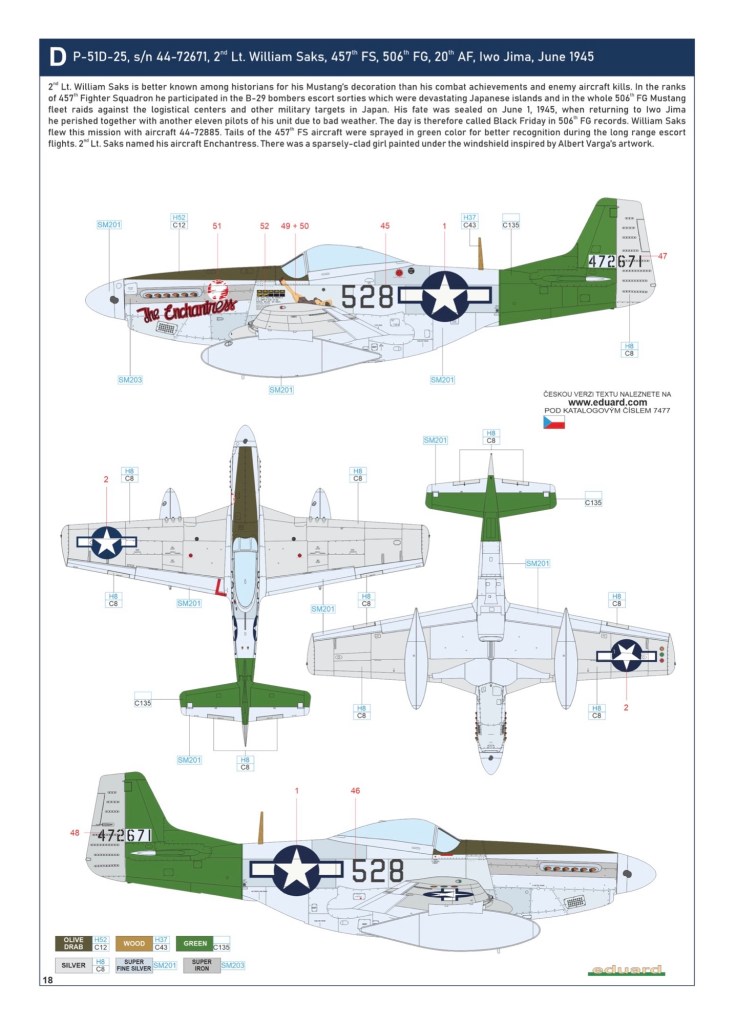
Iwo Jima VLR Mustang Decals: Eduard has again included decals for 528 “The Enchantress” (P-51D-25-NA, 44-72671), a 457th FS, 506th FG Mustang flown by 2nd Lt. William E. Saks. Unfortunately, 2nd Lt. Saks was one of the pilots lost on the infamous June 1, 1945 “Black Friday” mission, but he was not flying 528 on that day. “The Enchantress” is popular amongst modelers because the nose art and the Albert Varga pin-up girl that adorns the fuselage.
2nd Lt. Saks did not score any aerial or ground victories and was lost within a few weeks after the 506th Fighter Group arrived on Iwo Jima.

Below are the aircraft profile drawings for the plane that are included in the instructions for the kit.
528 “The Enchantress” survived the war and was part of the USAAF’s inventory that was transferred to Japan as part of the occupation.

Because this is a Weekend Edition boxing, there are no photo etch or resin update sets within the kit. The decals included in the kit are very nice, in register, and with a full set of stencils for a 1/72nd kit. Just what we all have come to expect for Eduard.
Kudos to Eduard for including decals for an Iwo Jima VLR Mustang in this boxing!


